
Precision through grid enlarging, artistry through vision.

Artists through the ages have often relied on various tools and techniques to move an image from idea to canvas. One of those methods is grid enlarging, widely practiced in studios across the globe. Renaissance masters such as Leonardo da Vinci and Albrecht Dürer used grids and proportional systems to construct their art. Today, grid enlarging remains one of the most dependable ways to expand a smaller image onto a larger canvas with accuracy and proportion.
What Grid Enlarging Means to Me
The grid enlarging method is one of the tools in my artist’s toolbox. It supports my artistry by preserving proportion and providing a framework, without ever replacing the creative act itself. Like an art projector or tracing overlay, the grid is simply another way to transfer an image. What matters is not the tool itself, but how the artist uses it.
Using a grid isn’t the heart of my art, but it plays a role in how I move an image from a smaller format to a larger canvas while keeping its proportions intact. Like any tool, it strengthens the work without diminishing the artistry. The grid gives me accuracy, but the art comes from how I change what I see once the structure is in place.
Why I Use Grid Enlarging
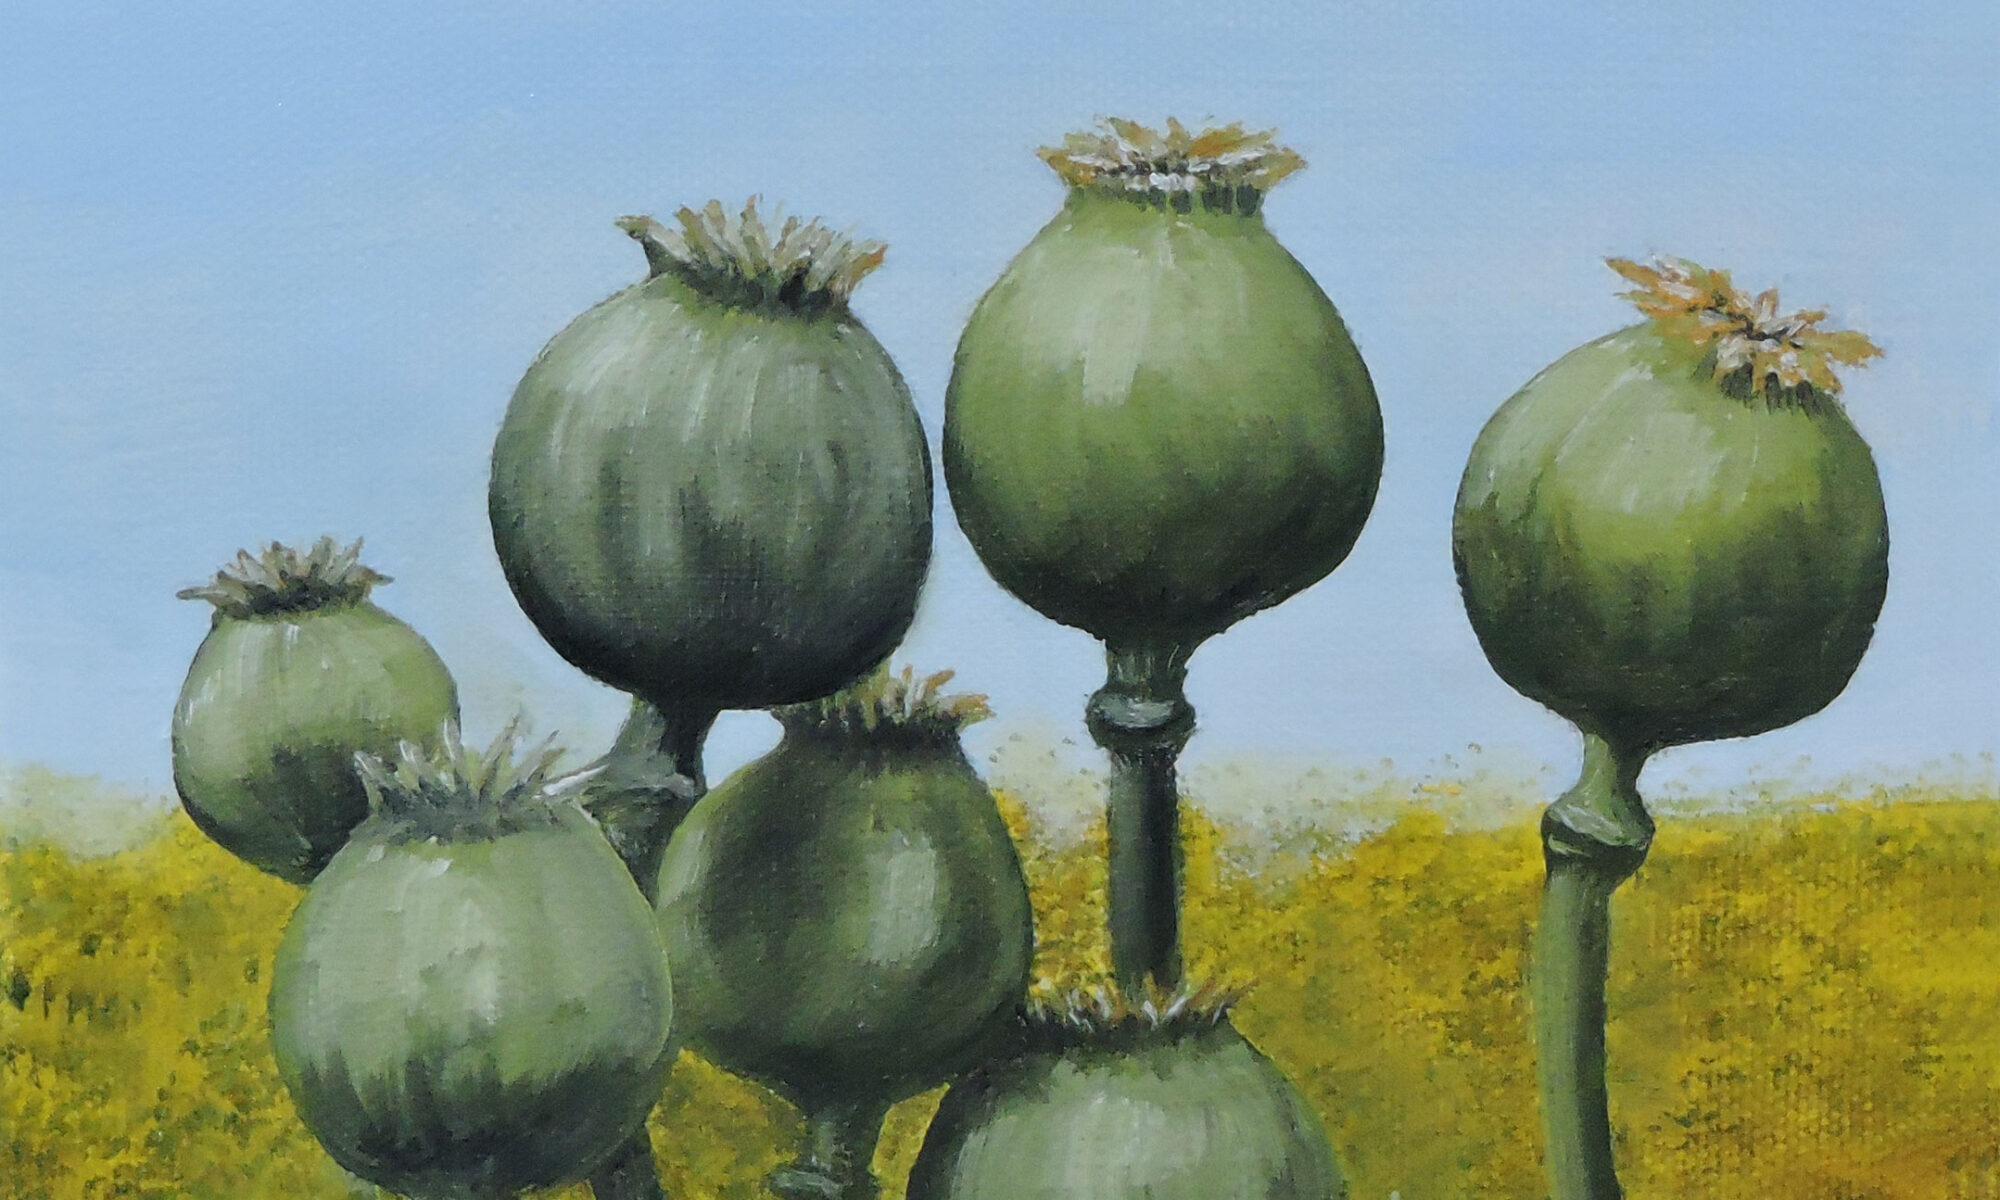
Accuracy, precision, and detail matter most in certain subjects. Portraits of people or pets, architectural scenes, or recognizable places with strong geometry all demand proportion before atmosphere can take over. The grid enlarging method gives me that foundation. It ensures that the larger canvas begins with integrity, so I can then focus on editing and shaping the composition once I put brush to canvas.
Without this tool, scale can easily distort. A face may lengthen, a building may lean, or a horizon may drift. The grid keeps those errors in check. Once the proportions are secure, I begin to make choices: compressing space, shifting edges, or removing distractions until the painting feels alive. The tool provides accuracy, but it is my judgment that transforms accuracy into art.
Beyond Mechanics
Although the grid is practical, it becomes part of my creative process because of how I approach it. I don’t copy every square mechanically. Instead, I let the grid slow me down, forcing me to notice what matters. It trains my eye to see angles and intervals more clearly, and it reminds me to look at what is truly there rather than what I think should be there.
This is where the grid becomes more than a tool — it becomes a discipline. It teaches patience, observation, and restraint. By focusing on one section at a time, I learn to see details in context, not in isolation. Yet I never stop at the grid. Atmosphere, rhythm, and recognition guide the painting forward. The tool sets the stage, but my artistry carries the performance.
When I Choose It
I don’t rely on grid enlarging for every painting. Some works ask for freedom, gesture, and improvisation rather than precision. Others demand exactness to protect the subject’s voice. Knowing when to use the grid — and when to leave it aside — is part of the discipline of being a fine artist.
It is not a replacement for drawing skills, but an aide. My ability to draw remains essential; the grid simply supports accuracy when scale and proportion matter most. In fact, using the grid often sharpens my drawing, because it forces me to confront what is actually there instead of what I assume. The tool helps me see, but it does not do the seeing for me.
The Grid as Tool, Not a Crutch
For me, grid enlarging is never about replacing skill. It is a tool of recognition, a way to carry proportion forward before reshaping it into something more expressive. Once the artistry takes hold, the grid fades away, leaving only the dialogue between idea and canvas.
The finished painting is not a mechanical transfer of squares; it is the result of choices, edits, and interpretations that transform the original image into art. The grid enlarging method is simply another tool — one I use because it helps me honor proportion while still protecting the mystery of the work.
Art Gallery Quick Links
Animals | Flowers | Landscapes | Marine
People | Space Art | Still Life
Additional Reading
Using a Viewfinder to Capture the Essence of My Art
The Importance of Varnishing Oil Paintings
Artist Blog Index: My Writings on the World of Fine Art
Thanks for reading this!
Feel free to share this with your friends.