
Art is born in the journey from vision to presence.
My oil painting process is more than technique — it’s a rhythm that guides each work from canvas preparation to final varnish. By sharing these stages, I offer a glimpse into how a painting evolves from blank canvas to completion. Each step is intentional, reflecting both craftsmanship and care, so that the finished piece carries not only visual beauty but also lasting value.
Canvas Selection
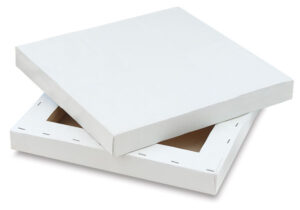
Every painting begins with a blank canvas. I prefer gallery‑wrapped canvas because it offers a clean, modern presentation. The canvas is stretched tightly around the sides of the frame, creating smooth, finished edges that I paint as part of the artwork. The result is a professional look that can be displayed with or without a frame, allowing the painting to suit both contemporary and traditional settings.
Making the Canvas Ready
Preparing the canvas is essential to the oil painting process. Even though the surface comes pre‑primed by the manufacturer, that alone isn’t sufficient. Before I begin painting, I apply additional coats of gesso to strengthen the surface, sanding between layers to create a smooth foundation. This ensures the pigments bond properly and the painting remains vibrant for generations, with a durable base built to endure over time.
Sketching The Image
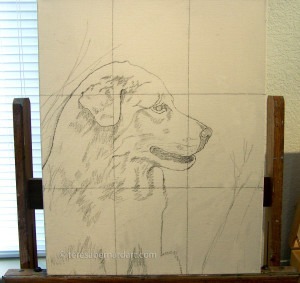
Once the canvas is ready, I continue the oil painting process by sketching the image onto the surface. Every painting begins with a simple grid that helps me place the focal point and other elements where they will best complement the composition. Using pencil or charcoal, I sketch the image in detail, including shadow areas. This careful planning ensures balance and proportion, qualities that give the finished work its sense of harmony.
Laying the Foundation
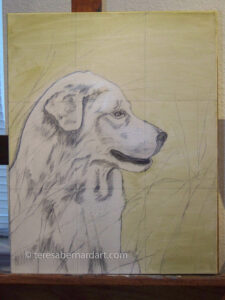
The underpainting plays an important role in my painting process. It forms the first layer of paint — the subtle foundation that supports every layer to come. I use this stage to block in color, establish tone, and remove the starkness of the white canvas. The layer is kept thin, so the sketch remains visible as I build the painting. This quiet beginning shapes the mood of the work and ensures that later layers have something solid to rest upon, adding depth and tonal harmony that enrich the painting’s character.
Painting in Layers

Layering is a key part of my oil painting process. I apply paint gradually, allowing each layer to dry before adding the next. This technique builds texture, detail, and dimension. It lets me refine the composition and add nuances that gradually reveal the painting’s story. Some paintings demand more layers than others, depending on the complexity of the composition. The layered surface offers richness that rewards close viewing, with subtleties emerging long after the first glance.
Applying Varnish
Varnishing is the final step in my oil painting process. Once the painting has dried thoroughly, I apply a clear, artist‑grade varnish. This protects the surface from dust and UV light while enhancing the colors, making them more luminous. The varnish safeguards the painting and ensures it is ready to shine in its new home.
The Completed Work

The finished painting reflects every stage of the oil painting process—from canvas prep to final varnish. Each step is part of a rhythm that transforms a blank canvas into a lasting work of art.
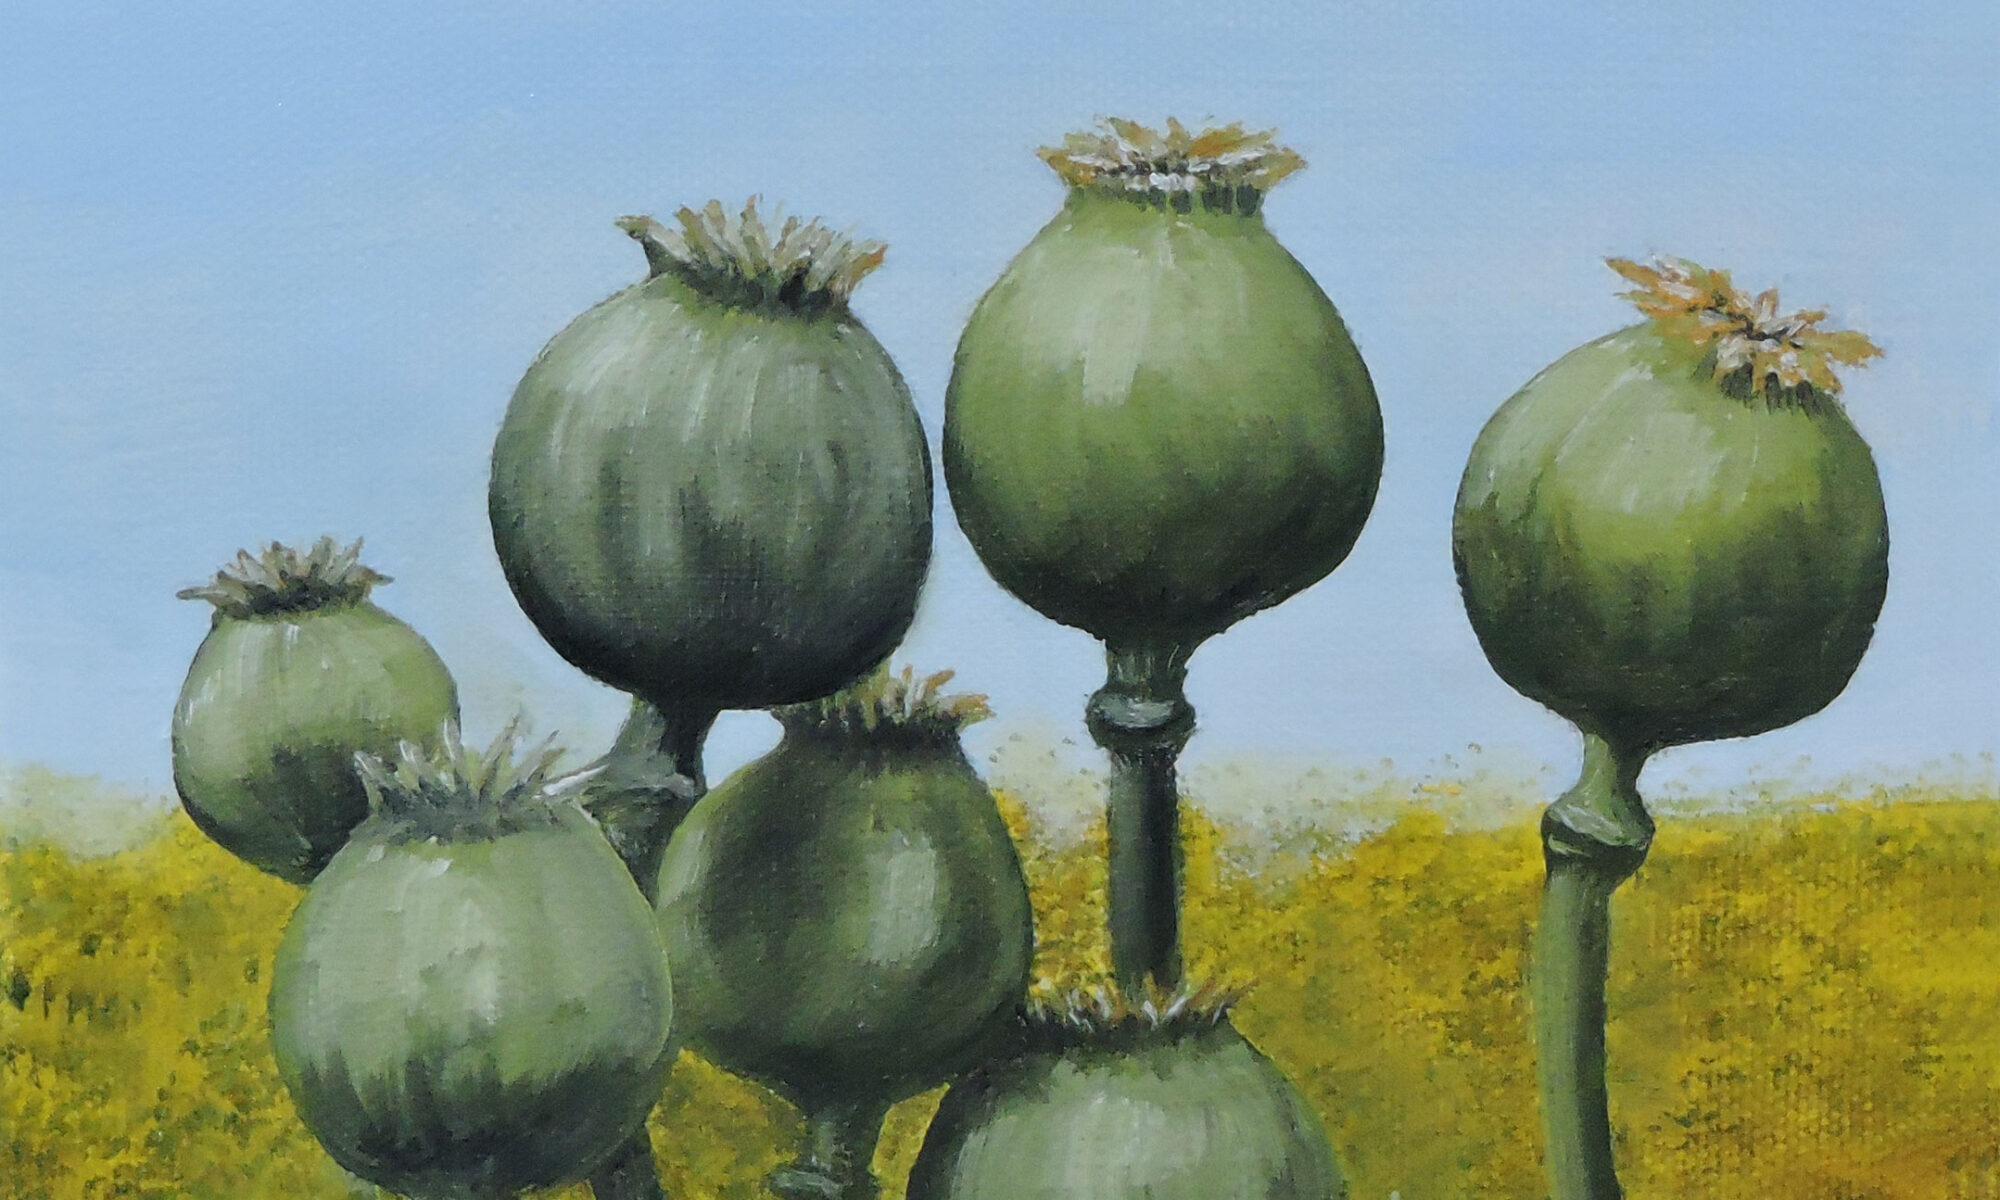
The Large White Dog
A domestic pet painting by Teresa Bernard.
16″ w x 20″ h
Oils on gallery-wrapped canvas
Read more about this painting here.
Art Gallery Quick Links
Animals | Flowers | Landscapes | Marine
People | Space Art | Still Life
Additional Reading
The Types of Oil Painting Canvas in My Studio
Grid Enlarging in My Creative Process
The Importance of Varnishing Oil Paintings
Thanks for reading this!
Feel free to share this with your friends.